Scheduling Your Spring Gate Installation: Timeline, Preparation, and What to Expect
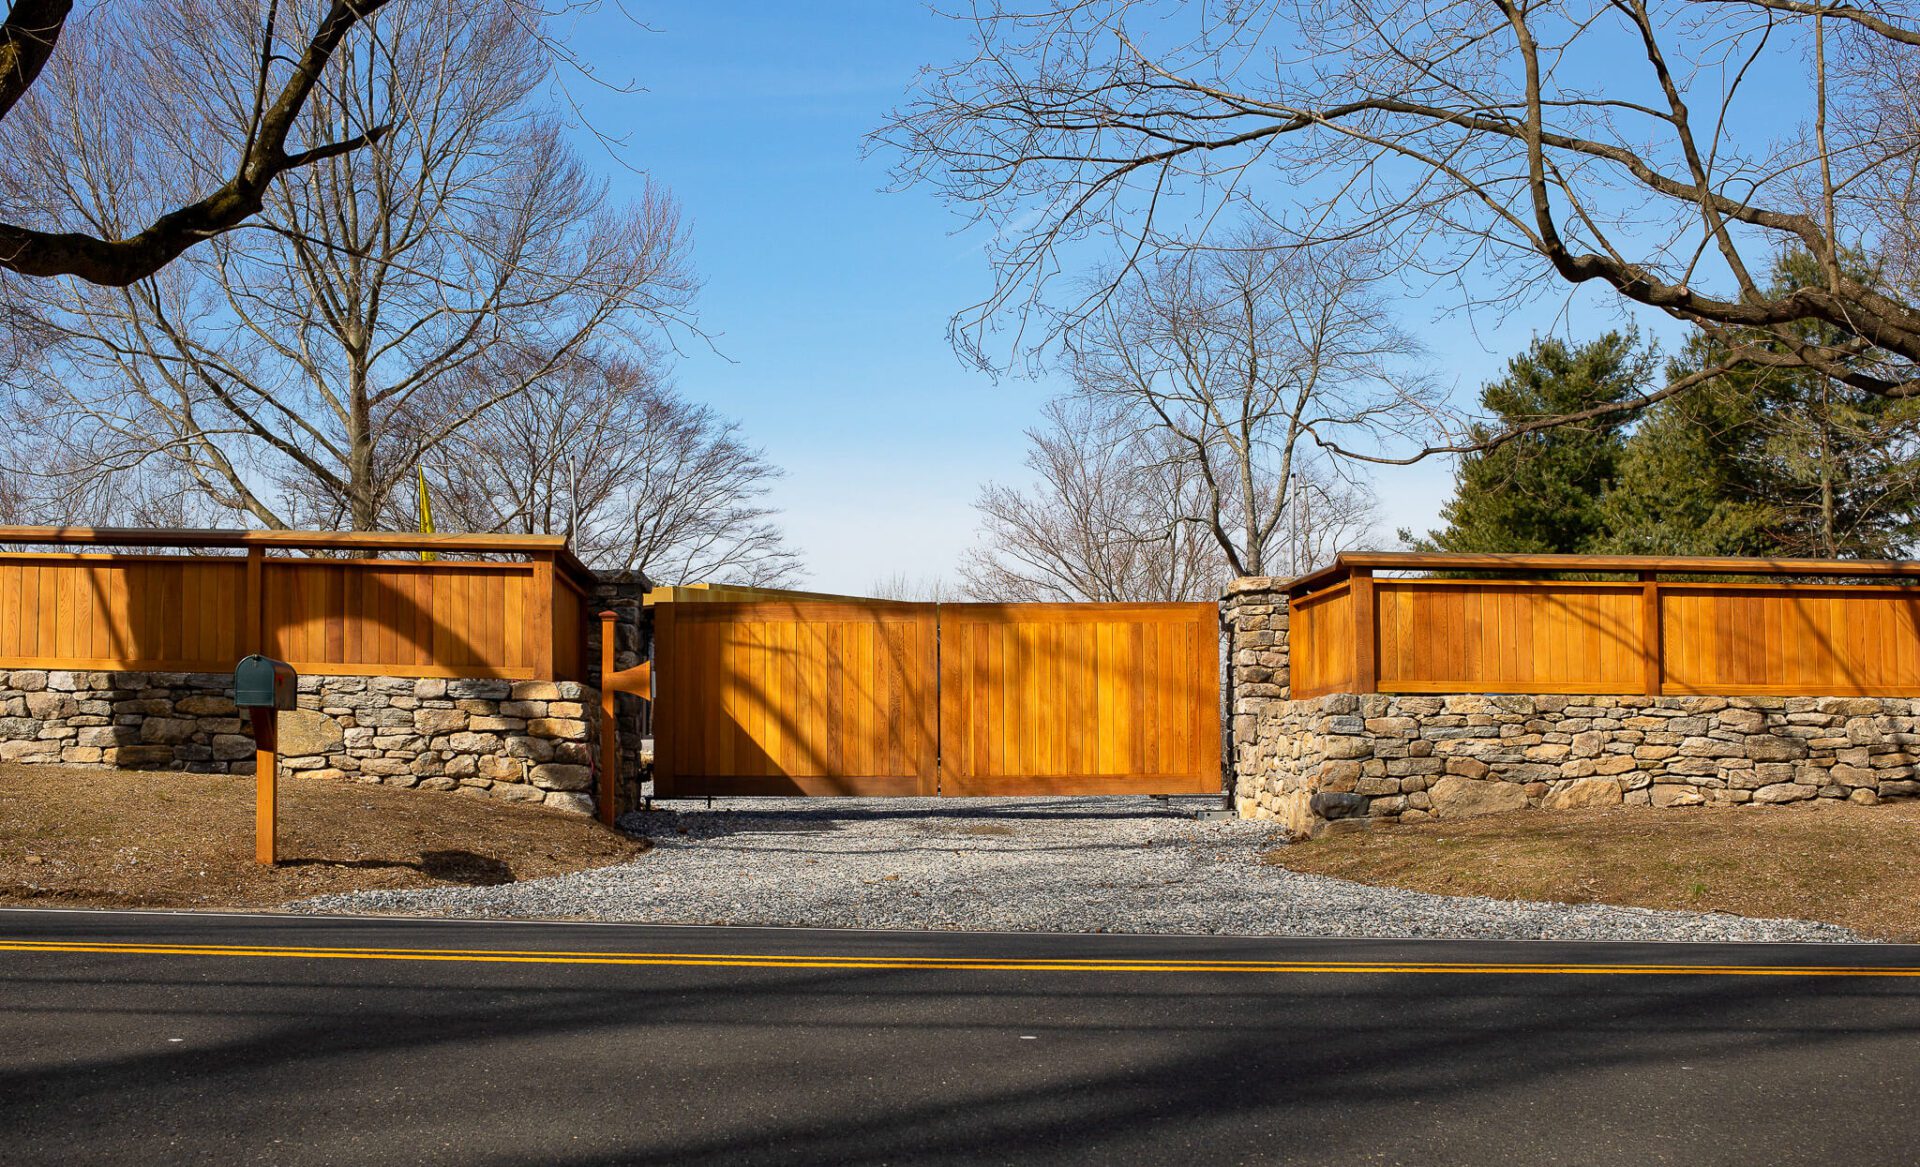
Spring is the most popular time of year to install a motorized driveway gate. The weather cooperates, the ground is workable, and there’s something satisfying about having a finished entrance before summer entertaining season kicks in. The catch? You’re not the only one thinking this way.
Booking early, preparing your property correctly, and knowing what to expect on installation day makes the whole process smoother – and helps you avoid the delays that catch unprepared homeowners off guard. Here’s a practical walk through from first call to final inspection.
Book Earlier Than You Think You Need To
This is the single piece of advice that saves the most headaches. Reputable automated gate companies fill their spring schedules fast – often by late February or early March. If you’re thinking about a spring installation and it’s already March, don’t wait another week.
The best installers aren’t sitting around with open availability in April and May. They’re booked out. And the companies with sudden availability during peak season sometimes have that availability for a reason.
Aim to have a signed contract in hand by late winter. That timing gives you:
- A confirmed spot on the schedule before peak demand hits
- Enough runway to handle any permitting requirements
- Time to coordinate with other trades if your project involves concrete or electrical work
- A comfortable window if anything needs to be reordered or adjusted
If you’re still in the comparison phase, move through it with some urgency. You don’t need to rush a bad decision, but don’t let perfect be the enemy of good either.
Understand What Permits Your Project May Require
Before installation day, check whether your municipality requires a permit for gate or fence installation. Many do. Some require electrical permits for the automation components specifically.
Keep in mind, permit timelines vary widely. Some municipalities turn them around in a few days. Others take weeks. Finding out late is one of the most common reasons spring installations get pushed into summer. Ask about permitting in your very first conversation with an installer.
Get Utilities Marked Before Anyone Digs
This step is non-negotiable and easy to overlook. If your gate installation involves any ground work, such as setting posts, running conduit for electrical, or installing underground sensors, you need to have your utilities marked first.
Call 811, the national “call before you dig” service, at least a few business days before your scheduled installation. They’ll coordinate with local utility companies to mark the locations of underground lines on your property. It’s free, required by law in most states, and protects you, your installer, and anyone working on your property from a potentially dangerous situation.
Finally, let your installer know once it’s done. Any good automated driveway gate company will expect this step to be completed before ground work begins.
Site Preparation: What You Need to Handle
Your installer will take care of the gate itself. But there are a few things on your end that can make the installation go smoothly and keep the project on schedule.
Before the crew arrives:
- Clear the driveway and entrance area – vehicles, planters, landscaping features, anything that limits access or workspace
- Confirm your driveway surface is ready – if you’re having concrete or pavers poured as part of the project, that work needs to happen first and fully cure before gate posts go in
- Know where your electrical panel is – gate automation requires a power source, and your installer will need access
- Check sight lines and grades – if your driveway has a significant slope near the entrance, flag it in advance so the installer can plan for it
Finally, if you’re doing any landscaping, irrigation changes, or driveway widening, coordinate those timelines carefully.
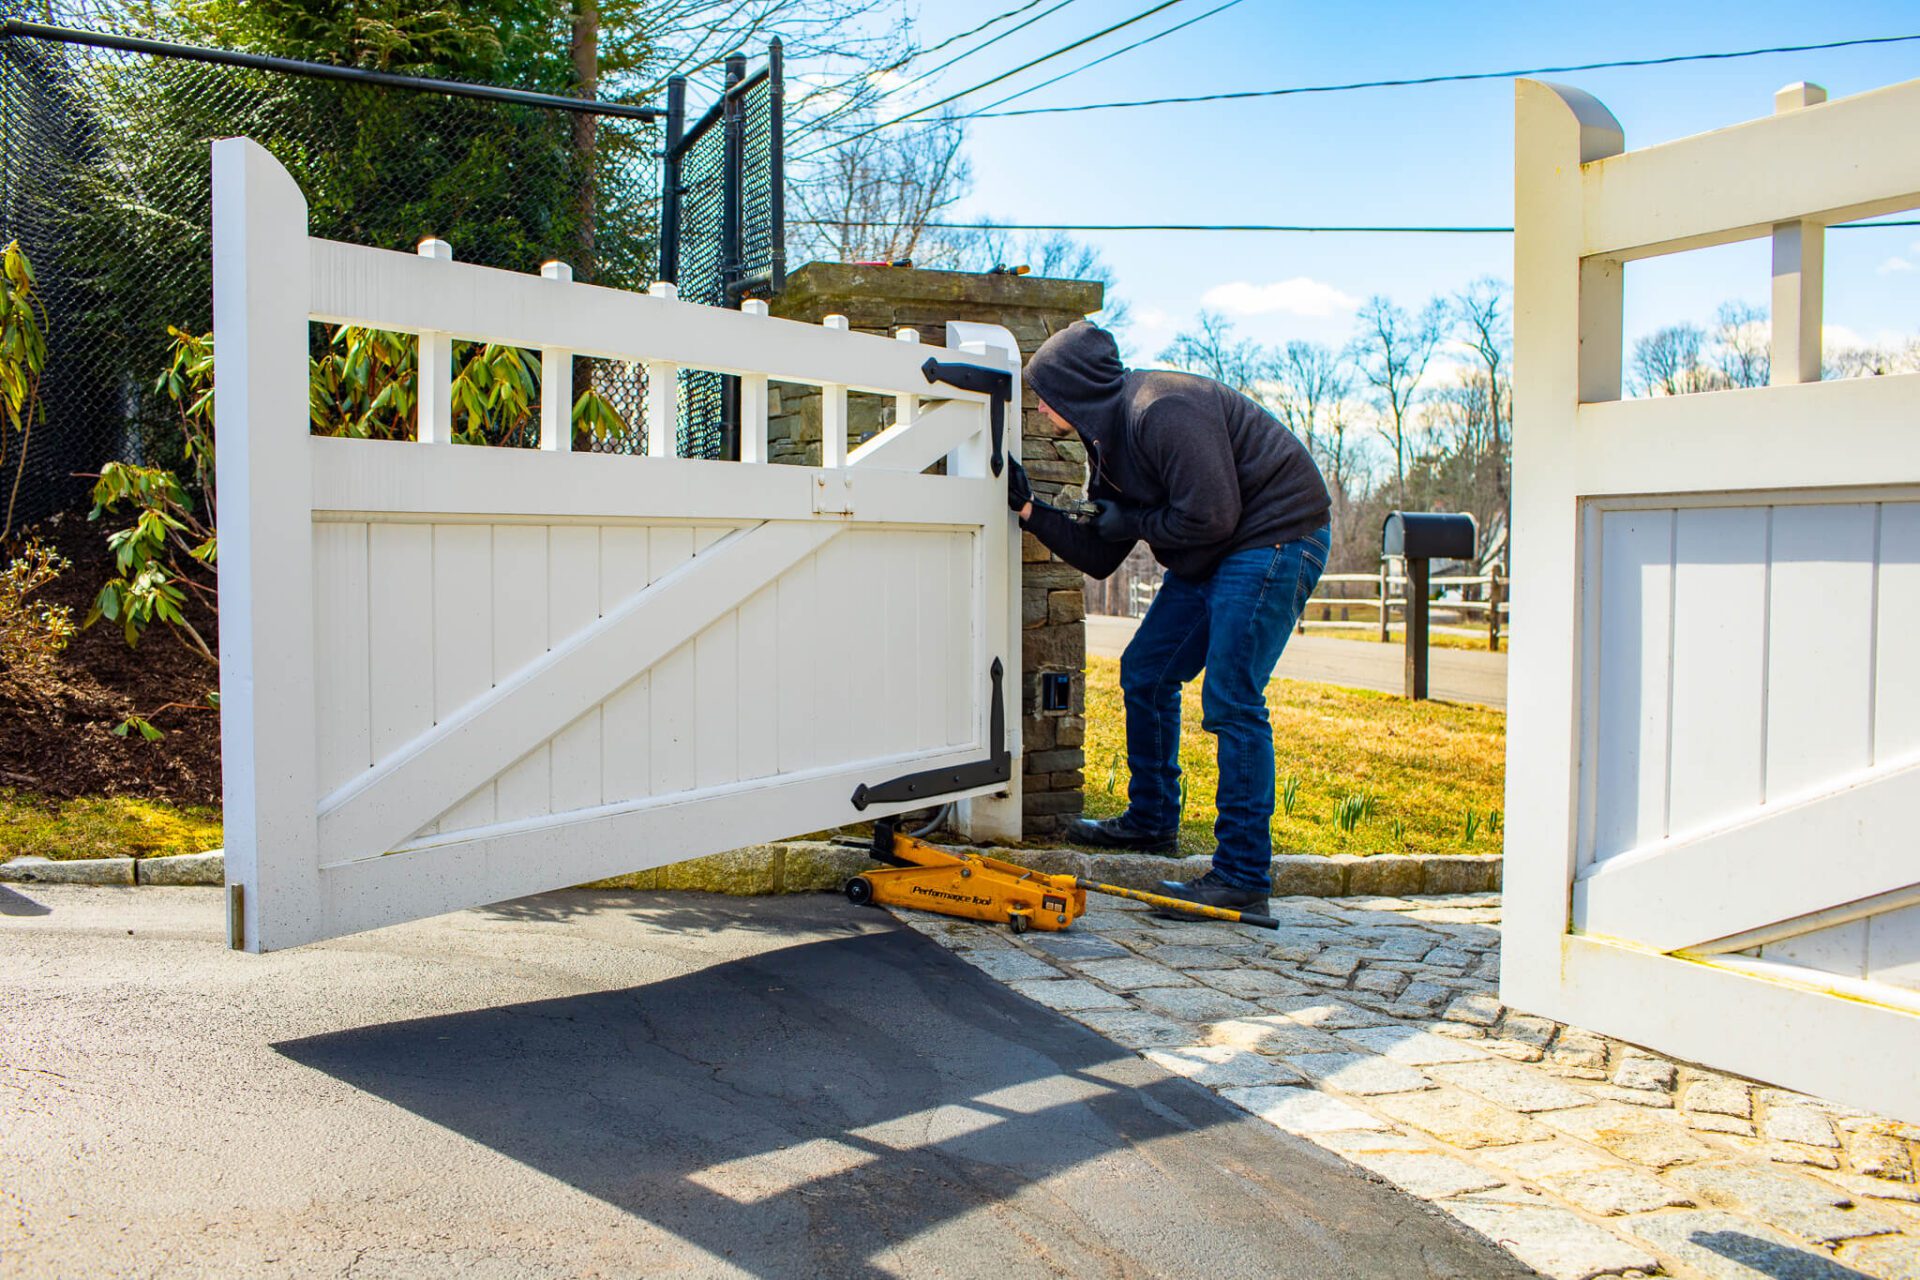
What Actually Happens on Installation Day
Most homeowners have a general picture of what a driveway gate installation involves, but learning the specifics can help set realistic expectations.
Typically, these are the steps needed to install a motorized gate:
- Site assessment and layout – The crew walks the property, confirms measurements, checks the utility markings, and establishes exactly where posts and components will go.
- Post setting – Gate posts are set in concrete footings. This is often the most time-sensitive step, since concrete needs adequate cure time before the gate hardware is mounted.
- Gate hanging and hardware mounting – The gate panels are hung, hinges and tracks are set, and the structural work is completed.
- Automation installation – Motor, control board, and electrical connections are installed and wired.
- Access system setup – Keypads, intercoms, sensors, and any smart home integrations are configured and tested.
- Testing and adjustment – The full system runs through repeated cycles, safety sensors are calibrated, and everything is fine-tuned
Most gates with standard automation take at least several days to install. More complex projects, however, may require a week or more, as well as follow-up visits.
Training and Handoff
Before the crew leaves, someone should walk you through the full system. Make sure you understand how to operate manual release in case of a power outage, how to access the app or keypad programming, and what normal operation looks and sounds like.
A good automated driveway gate company treats the handoff as part of the job, not an afterthought. If the crew seems rushed or vague during this part, ask them to slow down. You’re about to rely on this system every day.
Get the following before anyone leaves:
- Warranty documentation in writing
- Contact information for service calls
- Any access codes, app login credentials, or remote controls that are part of the system
- A copy of the permit and final inspection sign-off if applicable
Your Final Walkthrough Checklist
Before signing off on the completed project, take a few minutes to verify:
- The gate opens and closes smoothly through multiple full cycles
- Safety sensors stop and reverse the gate when triggered
- All access methods work, including the remote, keypad, app, and intercom
- Electrical connections are clean and weatherproofed
- The site is clean and any disturbed ground or landscaping is addressed
Don’t rush this part. It’s much easier to flag a small adjustment before the crew packs up than to schedule a return visit later.
Frequently Asked Questions
How far in advance should I book gate installation for spring?
Ideally, late January through February. Quality installers book out quickly as spring approaches, and waiting until March or April often means limited availability or longer lead times. If you’re also coordinating concrete, electrical, or landscaping work, earlier is always better.
What site preparation do I need to handle before installers arrive?
Clear the installation area of vehicles, plants, and obstacles. Make sure any concrete or paving work is fully cured if it’s part of the project. Have utilities marked through 811, confirm electrical panel access, and let your installer know about any driveway grades or drainage considerations near the entrance.
How long does a typical motorized gate installation take from start to finish?
Gates with standard automation take at least a few days to install. More complex projects, however, may require a week or more, as well as follow-up visits. Finally, at Tri State Gate, all of our gates are custom-built, so the fabrication process can take a few weeks too.